
Introduction:
This is the #3 post of my Scrapy Tutorial Series, in this Scrapy tutorial, I will talk about basic points of Python such as Python version, Python package and show you how to install Scrapy on your Linux machine. You can use this Scrapy install guide to help you install Scrapy on Ubuntu, CentOS, or other linux distributions. In this tutorial, we would use python3 as our Python version, if you still want to use the old python2 version, just replace all python3 with python2 and pip3 with pip2 in code
Basic Points
Even you can successfully install Scrapy on Linux without reading the basic points here, it is still recommended to read this section carefully because you will have a better understanding of Python, Scrapy, and pip.
Python Version
The python version of your env we usually talk about is the version number of the Python interpreter. The easy way to check the version number is just type python in your terminal.
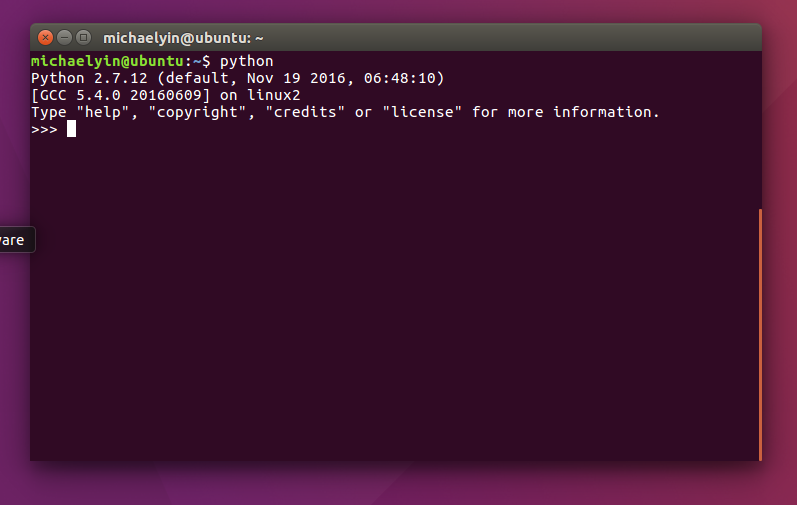
As you can see, the default python interpreter of my Ubuntu (16.04) is 2.7.10, this version might vary from the different Linux versions. Now there are mainly two versions python 2 and python 3 for you to choose. The difference between them is
Short version: Python 2.x is legacy, Python 3.x is the present and future of the language
If you do not have a solid reason to use python 2, just embrace python3, which is the present and future of python.
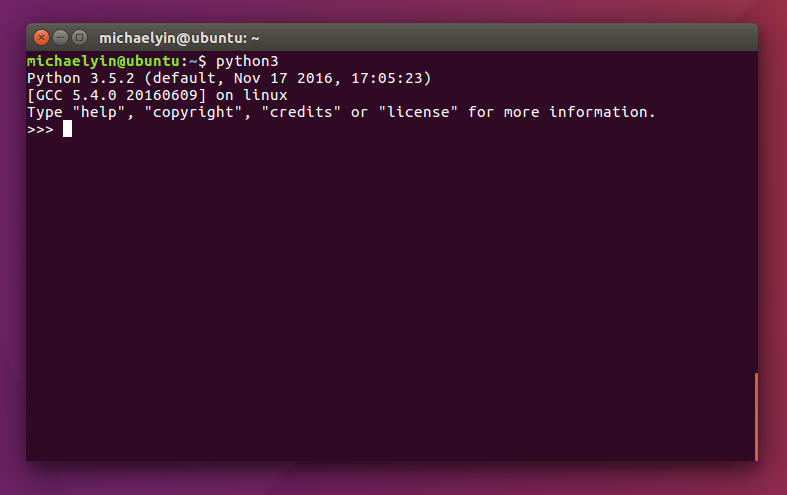
For example, on my Ubuntu 16.04 python3 is already installed. If I type python3 in terminal
pip
pip is the preferred installer program, for example, we can use pip to install Scrapy by typing pip install Scrapy. It will handle all dependency for us and install them first, which is very convenient.
Quick and dirty way to install Scrapy on Linux
If you want to get started quick and dirty, just use this way.
# Install python dependency

# For apt (ubuntu, debian...):
sudo apt-get install python3-dev

# If you still use python2 on ubuntu, debian, just use
sudo apt-get install python2-dev

# For yum (centos, redhat, fedora...):
sudo yum install python-devel

# install pip
cd ~
wget https://bootstrap.pypa.io/get-pip.py
sudo python3 get-pip.py

# As you can see, pip now has been installed in python3 package directory
michaelyin@ubuntu:~$ pip -V
pip 9.0.1 from /usr/local/lib/python3.5/dist-packages (python 3.5)
Now pip has been installed, we can use it to install python package for us now! Since pip is located in python3 package directory, we can use pip3 instead of pip to make our code clear. If you installed pip in python2 package directory, you can of course use pip2 instead of pip.
sudo pip3 install scrapy

michaelyin@ubuntu:~$ python3
Python 3.5.2 (default, Nov 17 2016, 17:05:23)
[GCC 5.4.0 20160609] on linux
Type "help", "copyright", "credits" or "license" for more information.
>>> import scrapy
>>> scrapy
<module 'scrapy' from '/usr/local/lib/python3.5/dist-packages/scrapy/__init__.py'>
>>>
As you can see, now scrapy has been installed on global package directory of python3, which means it is available across all of your python projects.
More decent way to install Scrapy on Linux
Scrapy installed via the code above are global so they are available across all of your projects. That can be convenient at times, but it can also become problems. So how to install Scrapy on an isolated environment? This is why virtualenv created. On my Ubuntu machine, only a few Python packages such as pip and virtualenv are globally available — other packages such as Scrapy, Django are installed in virtual environments.
We can use the code above to install pip for us, after that, we start to install virtualenv
sudo pip3 install virtualenv
cd ~
mkdir Virtualenvs
cd Virtualenvs
virtualenv scrapy_env
# after the env was created

michaelyin@ubuntu:~/Virtualenvs$ source scrapy_env/bin/activate
(scrapy_env) michaelyin@ubuntu:~/Virtualenvs$
As you can see, we use source scrapy_env/bin/activate to activate the virtualenv, and now if you install python package, all of them would be in an isolated env, and the name of the virtualenv can bee seen in the shell prompt.
pip3 install scrapy

(scrapy_env) michaelyin@ubuntu:~/Virtualenvs$ python3
Python 3.5.2 (default, Nov 17 2016, 17:05:23)
[GCC 5.4.0 20160609] on linux
Type "help", "copyright", "credits" or "license" for more information.
>>> import scrapy
>>> scrapy
<module 'scrapy' from '/home/michaelyin/Virtualenvs/scrapy_env/lib/python3.5/site-packages/scrapy/__init__.py'>
From the code above, you can see the scrapy is now located in virtualenv we just created.
ipython shell
Ipython shell is much more powerful than python console, Scrapy shell will use it if ipython has been installed instead of python console. I will talk about this in more detail in the future, but first, we need to install it.
# make sure we are in virtualenv
pip3 install ipython
(scrapy_env) michaelyin@ubuntu:~/Virtualenvs$ ipython
Python 3.5.2 (default, Nov 17 2016, 17:05:23)
Type 'copyright', 'credits' or 'license' for more information
IPython 6.1.0 -- An enhanced Interactive Python. Type '?' for help.

In [1]: import this
The Zen of Python, by Tim Peters

Beautiful is better than ugly.
Explicit is better than implicit.
Simple is better than complex.
Complex is better than complicated.
Flat is better than nested.
Sparse is better than dense.
Readability counts.
Special cases aren't special enough to break the rules.
Although practicality beats purity.
Errors should never pass silently.
Unless explicitly silenced.
In the face of ambiguity, refuse the temptation to guess.
There should be one-- and preferably only one --obvious way to do it.
Although that way may not be obvious at first unless you're Dutch.
Now is better than never.
Although never is often better than *right* now.
If the implementation is hard to explain, it's a bad idea.
If the implementation is easy to explain, it may be a good idea.
Namespaces are one honking great idea -- let's do more of those!
